Recently I put together an AirRohr particulate matter sensor to see what the PM10 and PM2.5 levels were outside my house. I ordered a SDS011 fine dust sensor and BME280 from Aliexpress, reused an old NodeMCU v1 ESP8266 module and put together the pipe enclosure using 75mm PVC pipe fittings from Bunnings. The modules are powered using a LM2596HV AC to DC Buck Converter, set to output 5V with an input source of 12V AC from a garden lighting transformer.
Firmware
As I was using an old NodeMCU v1 ESP8266 module (I have a few of these lying around and didn't want to order another v2 or v3 module), I couldn't use the pre-built firmware available from the sensor.community website, so I cloned the git repo and tried flashing the firmware using the Arduino IDE. For some reason I ran into problems with the SSD1306 library and as I wasn't using an OLED display I ended up just wrapping all the code that interfaced with the SSD1306 with #ifdef ... #endif directives referencing an undefined token (effectively the same as commenting the code out). This let me build the code and flash it to my NodeMCU v1 module.
Thanks to the Open Data Stuttgart initiative for making the source and sensor design available!
Hardware
Here in Australia the 75mm PVC pipe fittings are different to what's available in Germany so I ended up using:
- 2x 75mm 90 degree female to female elbows
- 2x 75mm PVC couplings (used to fit flyscreen to stop bugs getting in, see later)
- 2x 80mm PVC clips (holds 75mm pipe as it has some give in the design)
- 1m 75mm PVC pipe (which needed to be cut into a few pieces)
- Some leftover flyscreen
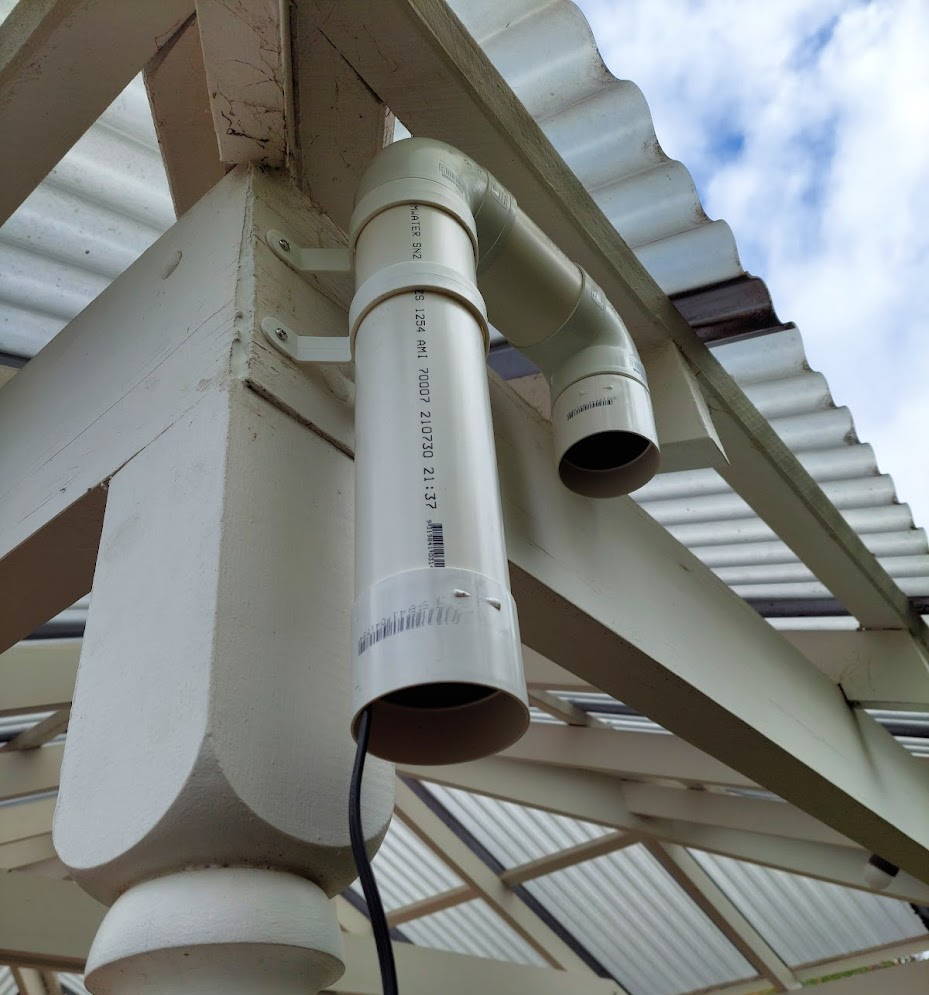
The pipes are mounted on our outdoor patio in an inconspicuous spot which has good airflow away from the house:
I used the PVC couplings as endcaps with flyscreen in them to keep bugs out. Cutting a thin (couple of mm - test out your hacksaw skills!) piece of PVC pipe and bending the circle in at one point, this makes an easy flyscreen holder that can be easily wedged into the coupling. From the back it looks like this:
From the front it looks nice and tidy:
The small triangle void formed from pushing the thin PVC piece in gives a nice route to run the power cable into the pipe pieces. I've also wedged a piece of flyscreen foldered into a cone to block off the rest of the hole bounded by the triangle void.
Software
I noticed that the sensor outputs data in JSON format at http://sensor/data.json, so thought I could use this output and write an integration for HomeAssistant to read the sensor data locally. Luckily in searching I found that someone had already written this (https://github.com/lichtteil/local_luftdaten, thanks!) and it was available through
HACS so I've added the integration and configured it by adding a sensor to my yaml configuration:
In configuration.yaml I have this section to reference another file for sensors:
# manually configured sensors
sensor: !include sensors.yaml
And in sensors.yaml I have the following config for local_luftdaten (IP address and name redacted):
# luftdaten sensor
- platform: local_luftdaten
host: 192.168.20.XXX
scan_interval: 180
name: airrohr-nnnnnnnn
monitored_conditions:
- SDS_P1
- SDS_P2
- BME280_temperature
- BME280_humidity
- BME280_pressure
This lets me set up a couple of cards to show the sensor values and their trend over the last 24 hours:
It's been interesting to watch the PM2.5 and PM10 values shoot up during the controlled burns we've had in Perth recently while hiding inside away from the smoke :)


No comments:
Post a Comment